

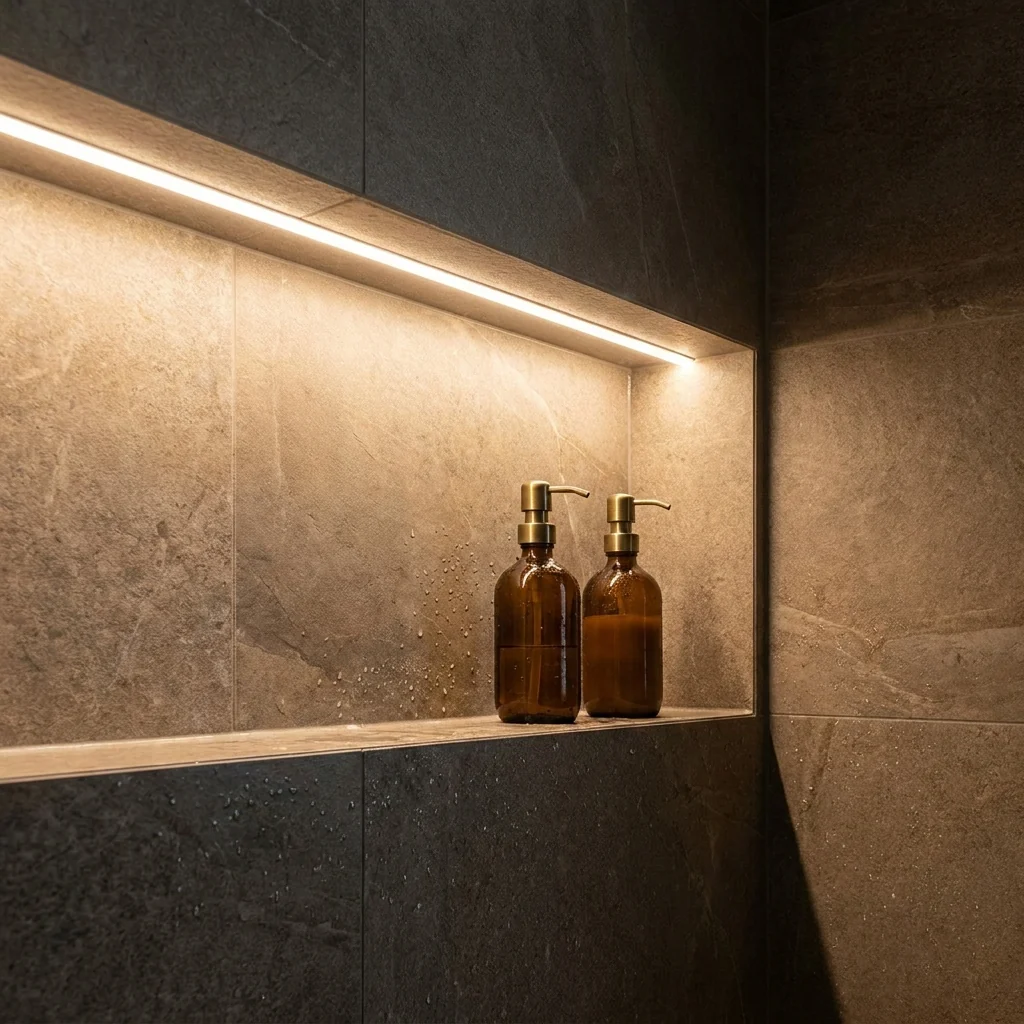
Build the niche from waterproof XPS backer board, give the shelf a slight fall toward the front, tank every internal corner, and tile it in the order back, bottom, top, then sides. Those four details — substrate, fall, tanking and tile order — are what separate a niche that stays dry for the life of the bathroom from one that quietly feeds water into the wall behind the shower.
A recessed niche is the most detail-dense square metre in a wet room: six internal angles, a horizontal shelf sitting in the spray zone, and a recess cut into the very layer that is supposed to keep water out of the wall. This guide covers planning the niche properly, the two ways to form the recess, the waterproofing details that decide everything, the tiling order — and the mistakes that cause the leaks we get asked to diagnose.
Plan the Niche During Setting Out — Not After
The best-looking niches are decided at the same moment as the tile grid. Set out the wall so the niche edges land on grout lines: the opening then reads as a deliberate part of the tile pattern, the cuts are fewer and cleaner, and there are fewer exposed edges to finish. Size the opening to the tile module — a niche one tile wide and two courses high, plus joint widths, needs almost no cutting at all. A niche positioned after tiling has started ends up slicing through tile centres: more cuts, more edges, and a detail that looks bolted on because it was.
Position matters too. A bay between studs on an internal wall is the easiest recess to form. On an external wall, a recess thins whatever insulation the wall holds — one reason to form the niche from insulating XPS board rather than bare framing — but it is still a decision to make consciously, not discover later. Height-wise, somewhere between waist and eye level keeps bottles reachable without stooping and out of the direct force of the spray.
Two Ways to Form the Recess
A stud-cavity niche
Where the shower wall is framed, open the bay between studs, add framing at the head and sill, and line the recess with pieces cut from Insutile® Build Board: back panel first, then sill, head and jambs, each bonded and screwed. Cut the sill piece so it sits with a slight fall toward the front — it is far easier to build the fall in now than to create it in adhesive later.
A surface-built box
On solid masonry, chasing out a recess is rarely worth the mess. Instead, build the niche as a proud or half-recessed box: 50 mm XPS board cuts, glues and screws into structural shapes — the same technique used for benches and half walls — and pre-formed Angle Board corners give factory-straight internal angles without carpentry. If the niche is part of a larger project, our curbless walk-in shower guide shows how the same system builds the whole enclosure.
The Details That Decide Whether It Leaks
Give the shelf a forward fall
A dead-level shelf ponds water against the back corner of the niche — the exact spot with two joints and the least ventilation. A fall of just a few millimetres from back to front, set when the sill piece is bedded and checked with a level before the adhesive cures, sheds that water back into the shower. It is invisible in use and decisive over the years.
Tank every internal angle
The recess has four internal angles around its back panel, plus the junctions where the niche reveals meet the face of the wall. Every one of them gets alkali-resistant joint tape bedded in adhesive or sealant, tied into the tanking of the surrounding wall so the niche and the wall share one continuous waterproof layer — not two systems meeting at the reveal. The tapes, pre-formed corner pieces and sealant are in the accessories range. And the recess is no place for gypsum: if the enclosure walls are plasterboard, the niche is where that decision fails first — our plasterboard-in-showers article explains why.
Tile the Niche in the Right Order
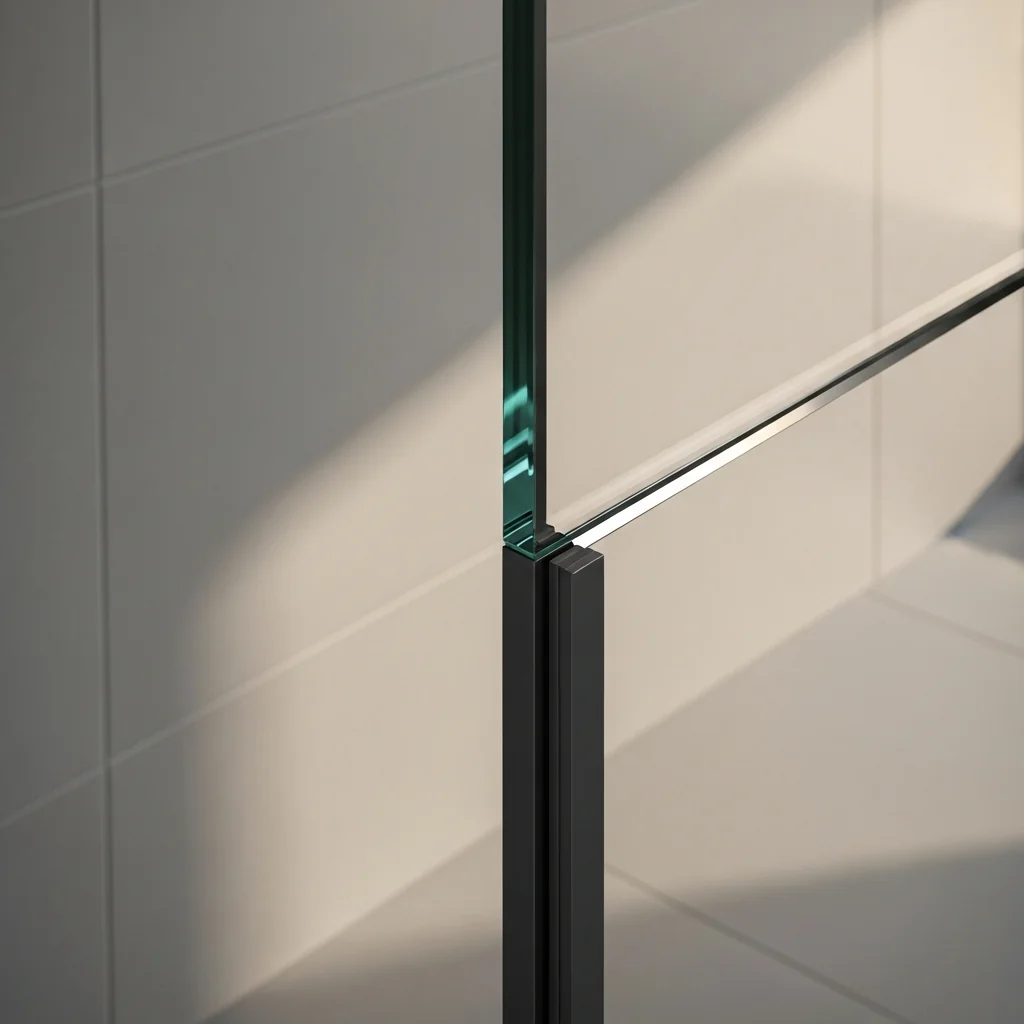
Tile the field wall down to the niche, then work the recess in this order: back panel, bottom, top, then sides. The sequence exists so that each piece covers the cut edges of the one before it — cut edges finish facing into the joints, factory edges and trims face the room. The bottom (sill) tiles go in with the fall already beneath them and run to the front edge of the reveal, so water sheds over a tile face rather than into a joint; the head tiles mirror them above; and the side (jamb) tiles close the reveal last, trapping every cut edge inside the box.
The reveal edge itself can be finished three ways: a metal or PVC tile trim, a pencil-tile border, or mitred porcelain for a trim-free edge. All three work — what matters is deciding before the wall tiles are cut, not after.
Silicone, Not Grout, in the Corners
Every internal angle of the niche is a junction between planes that move fractionally against each other — which makes them movement joints, and movement joints are never grouted. Grout in a niche corner develops hairline cracks within months, and each crack is a capillary path behind the tiles. Fill all internal angles with a mould-resistant silicone matched to the grout colour, and keep cement grout for the flat tile fields only.
The Mistakes That Cause Niche Leaks
- A dead-level shelf — or worse, one falling backward — that ponds water in the back corner of the recess.
- A niche placed without reference to the tile grid, cutting through tile centres and multiplying the exposed edges to seal.
- Grout in the internal corners instead of silicone — cracked joints at the exact junctions that matter most.
- No tanking behind the tiles — treating tile and grout as the waterproof layer when they are only the decorative one.
- A recess formed in moisture-sensitive board — plasterboard or MDF hidden inside the wettest detail of the wettest room.
Framed Timber Niche vs XPS Backer Board Niche
| Criterion | Framed timber niche | XPS backer board niche |
|---|---|---|
| Waterproofing | Relies entirely on a membrane over timber and lining board | Waterproof core; joints and corners taped, and the membrane of the surrounding shower wall carried into the recess in most cases |
| Corner accuracy | Depends on the carpentry behind the lining | Factory-cut edges and pre-formed angle corners |
| Build time | Framing, lining, then a full tanking stage | Cut, bond, screw, tape, then waterproof with the wall |
| If the seal is ever breached | Timber swells and rots unseen behind the tiles | Board is unaffected by water — the defect stays local and repairable |
| On external walls | Recess thins the wall's insulation | Insulating XPS core gives back what the recess removes |
Frequently Asked Questions
How much fall should a shower niche shelf have?
A few millimetres from back to front is enough — just sufficient that water visibly runs off the shelf toward the shower rather than sitting against the back corner. Build the fall into the sill piece when the niche is formed rather than trying to create it in tile adhesive afterwards.
Where is the best place to put a shower niche?
On a wall within comfortable reach of the person showering, between waist and eye height, and set out so its edges land on grout lines. An internal stud bay is the easiest structure to recess into; on an external wall, use an insulating board build-up so the recess does not become a cold spot.
Can you add a niche to an existing tiled shower?
Only by breaching the existing waterproof layer, which means the opened area must be re-tanked and tied back into the surrounding waterproofing — realistically a job to do during a re-tile rather than into a finished wall. If the shower is staying as it is, a surface-mounted shelf or corner unit is the honest alternative.
Do you grout or silicone the corners of a shower niche?
Silicone. All the internal angles — around the back panel and where the niche meets the wall plane — are movement joints and will crack if grouted. Use a mould-resistant silicone matched to the grout colour, and grout only the flat tile fields.
Building a niche into a new shower or a full wet room? Explore Insutile® Build Board and Angle Board, request a sample pack from the contact page, or talk to our technical team for a project-specific detail.