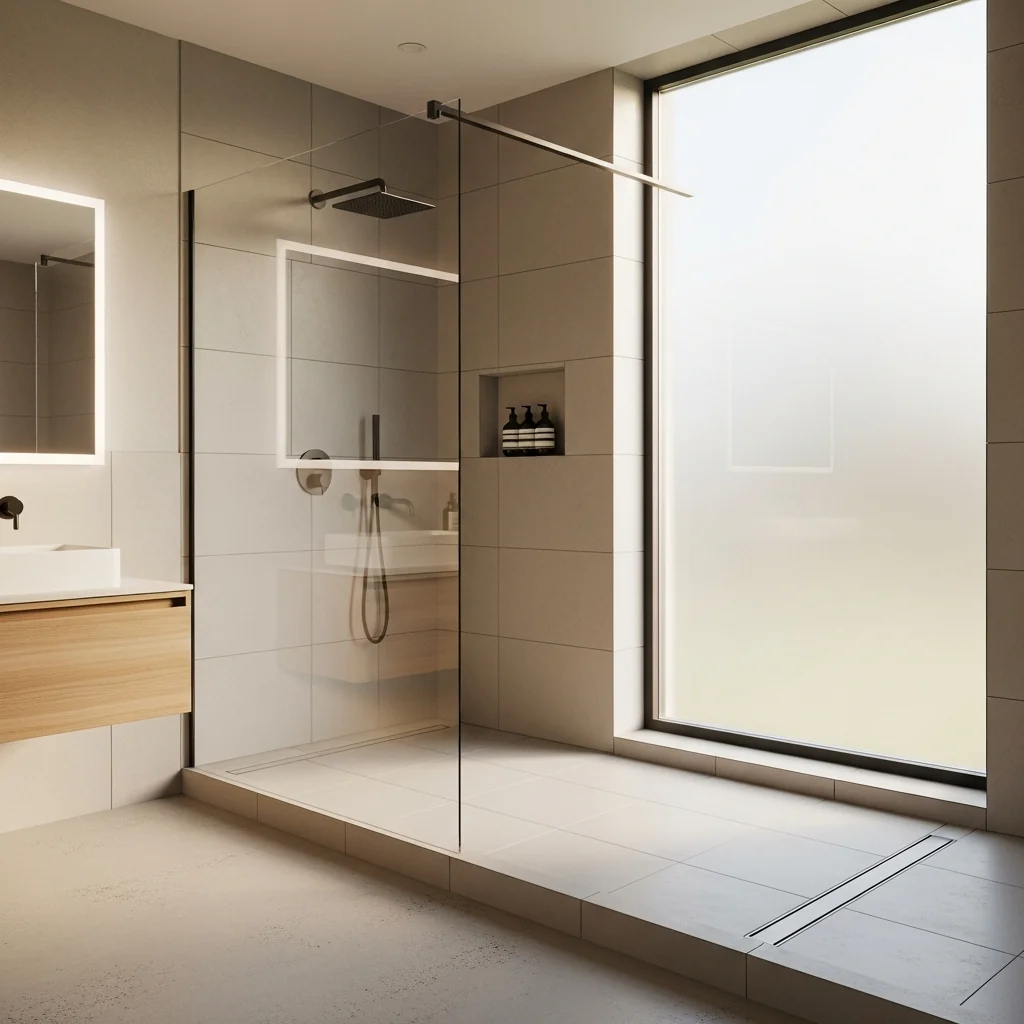
The curbless walk-in shower has become the defining feature of contemporary bathroom design. No tray. No threshold to step over. A continuous tiled floor that runs from the basin to the showerhead, with a hidden linear drain doing all the work. Done well, it is the single change that makes a bathroom feel modern, generous and effortless to use.
Done badly, it is the project most likely to leak.
The difference is almost always in the substrate. A curbless shower removes most of the geometry that traditional shower systems rely on to keep water in — the upstand, the lip, the tray edge — and replaces them with a continuous tiled surface and a precision-shaped slope. That asks more of the boards behind the tile than any other application in domestic construction.
This guide walks through the full Insutile system for building a curbless walk-in shower or wet room from scratch — base, walls, corners, linear drain detailing, waterproofing — using XPS tile backer board throughout. It is written for contractors and serious renovators, but accessible enough that a competent client will follow the logic and ask sharper questions of their own builder.
Why XPS Is the Right Substrate for a Curbless Shower
A curbless shower is, in waterproofing terms, the highest-risk wet area in a typical home. Water pools, slopes, and drains across the same plane as the rest of the bathroom floor — there is no curb to catch over-runs. The substrate beneath those tiles has to do three jobs simultaneously:
- Hold a precise slope toward the drain, without sagging or shifting under foot traffic.
- Be permanently, structurally waterproof — not water-resistant, waterproof — across the entire shower zone, including the area outside the glass screen if the design is a true wet room.
- Maintain a flat, dimensionally stable surface that holds large-format porcelain or stone tiles flat for decades.
XPS tile backer boards are uniquely suited to this combination. The closed-cell foam core absorbs less than 0.5 percent water by volume, so the substrate stays dry through the inevitable grout-line and silicone-seal failures over the life of the room. The cementitious mesh facing bonds tile adhesive as well as any cement-board. And the Insutile system includes pre-sloped shower bases, flexible curve boards, pre-formed angle boards and matched sealants that make the assembly straightforward rather than improvised.
Step 1 — Plan the Slope and Drain Position First
Every curbless shower starts with two decisions: where the drain goes, and how steeply the floor slopes toward it. The Insutile pre-formed Shower Underlay panels are factory-sloped to a 1:50 fall, which is the European standard for level-access showers. That fall is enough to clear water reliably without being noticeable underfoot.
Drain options to consider before any board is cut:
- Linear drain along the back wall — visually cleanest, allows large-format tiles to run uninterrupted across the floor, slope is one-directional.
- Linear drain at the entry threshold — useful when an existing waste pipe sits there; slope runs from back wall toward the entry.
- Centre-point drain — traditional but harder to detail with large tiles; needs a four-way slope. Generally avoided in contemporary design.
Once the drain is positioned, the Shower Underlay panel is selected to match — the same panel can be supplied with the channel cut-out at any edge or position. Order it cut-to-fit; do not freehand the slope on site.
Step 2 — Prepare the Subfloor
The subfloor under a curbless shower has to be flat, dry, structurally sound, and at the right height for the new build-up. The build-up is typically:
- Subfloor (concrete or screed)
- Insutile Shower Underlay (sloped XPS, ~30 mm at the high point)
- Tile adhesive bed
- Finished tile
For a true level-access build, plan the subfloor level so that the finished tile of the shower zone sits flush with the bathroom floor outside it. This usually means recessing the subfloor under the shower zone — a quick check at the planning stage avoids a difficult retrofit later.
The waste pipe is run before the underlay goes down and stubbed up to the correct height for the linear drain. Test-fit before bonding anything.
Step 3 — Bond the Pre-Sloped Shower Underlay
The sloped underlay is bonded to the prepared subfloor with a flexible C2TE-class tile adhesive applied with a notched trowel. Press the underlay into the bed, working air out from centre to edges, and check the fall in two directions with a long level. The factory slope does the work — your job is to bed it firmly and flat.
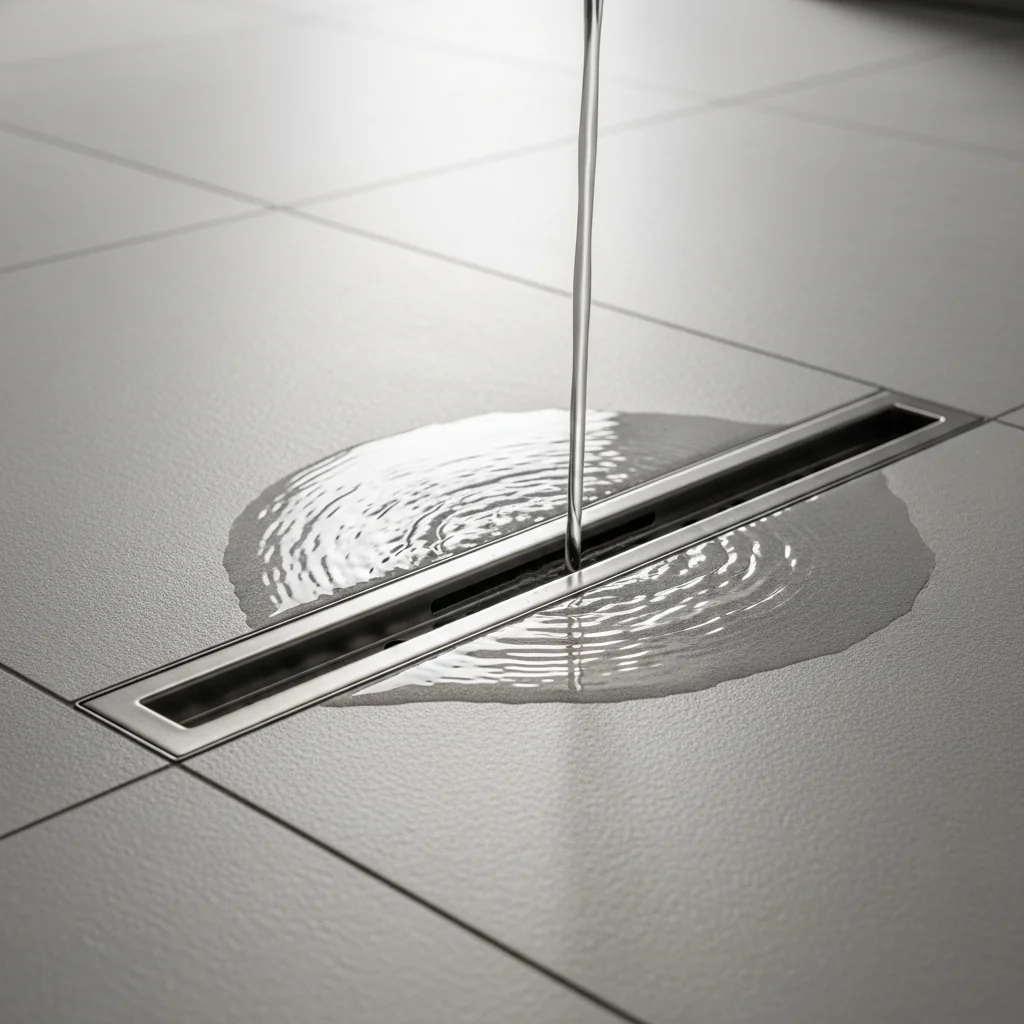
Around the linear drain, the underlay is cut to fit tightly to the channel flange. The drain sits flush with the cementitious top surface so that the tile bed bridges drain and underlay seamlessly.
Allow the adhesive to cure per manufacturer instructions before any traffic. Do not skip this step — a partially cured base will move under the weight of an installer and de-bond before the tiles are ever laid.
Step 4 — Build the Shower Walls in Insutile Build Board
For walls in the shower zone, 12.5 mm Insutile Build Board is the standard specification. It is rigid enough to carry full-format porcelain, light enough for a single installer, and dimensionally compatible with the underlay so that joints between floor and wall sit on a single plane.
Mechanical fixings (Insutile washers and screws) are used at appropriate centres into a stud or masonry substrate following the standard installation guide. Plastic washers spread the load and protect the cementitious facing from the screw head. Where the wall meets the underlay, leave a 2–3 mm gap and seal with sealant rather than butting the boards tight — this allows the small differential movement that any building has, without cracking the tile bed.
For curved sections — quarter-circle showers, rounded entry profiles, sweeping back walls — Insutile Flex Board replaces Build Board on the curved zone only. It bends to a tight radius without snapping and bonds to the same accessories.
Step 5 — Detail the Internal Corners with Angle Board
The corner where two walls meet, and the corner where wall meets sloped floor, are the two highest-risk failure points in a curbless shower. Traditional detailing relies on multiple separate components — corner reinforcement strip, mesh tape, sealant, sometimes a separate corner trim. Each interface is a place where a future leak can start.
Insutile Angle Board solves this with a single pre-formed L-shaped XPS component. It bridges the corner in one piece, bonds with the same adhesive as the wall and floor boards, and presents the same cementitious facing for tile adhesive. Mesh tape is then applied across the joint between angle board and adjacent boards, bedded in flexible sealant. The corner becomes a continuous waterproof element rather than a vulnerable joint.
This is the single biggest reliability upgrade over a traditional cement-board build.
Step 6 — Seal Every Joint and Penetration
Once boards are fixed and corners are bridged, every remaining joint, screw head and pipe penetration is sealed. The Insutile sealant range is matched to the boards — same flexibility, same adhesion, same long-term durability under wet-room conditions.
Standard sequence:
- Apply Insutile sealant to all board-to-board joints, board-to-underlay joints, and around any pipe penetration.
- Embed Insutile mesh tape into the wet sealant across the joint and smooth flat with a trowel.
- Cap each fixing washer with a small dab of sealant.
- Allow the sealant to skin and cure per the datasheet before the next stage.
Done correctly, the entire shower zone is now a single continuous waterproof envelope — boards, corners, joints and underlay sealed together. This is the layer that protects the structure behind the tile for the next thirty years.
Step 7 — Tile the Shower as a Continuous Surface
With the substrate complete, tiling proceeds as a single continuous surface from outside the shower zone, across the floor, into the slope, and up the walls. Use a flexible C2TE-class adhesive throughout. Large-format tiles particularly benefit from the dimensional stability of the XPS substrate — they sit flatter and lippage is dramatically reduced compared with traditional cement-board floors.
Plan the tile layout around the linear drain so that grout lines either run parallel to the channel or land symmetrically either side of it. The cleanest looks come from a single tile module that runs from the back wall through the drain zone with the channel sitting between two whole tiles or precisely centred on a grout line.
Step 8 — Final Sealing and Sign-Off
Once tile and grout are cured, the final job is the silicone seal at every change of plane — wall-to-wall, wall-to-floor, around the drain, around the showerhead penetration. Use a sanitary silicone with mould inhibitor; tool the bead clean. This silicone is the last line of defence; the waterproofing under the tile is the actual barrier.
A water test before the glass screen goes in is good practice for a serious project — flood the shower for an hour, check for any moisture appearing at the edges of the underlay or behind the wall boards. With a properly built Insutile system, there will be none.
What You Have Built
A curbless walk-in shower built on the Insutile system is, in waterproofing terms, more reliable than the bathrooms most of us grew up with. The substrate is waterproof to the core — not just the surface — across the entire wet zone. Every corner is bridged in a single piece. Every joint is sealed and tape-reinforced. Every interface between the underlay, the walls, the drain and the surrounding floor is detailed by the same system rather than improvised on site.
That is what makes curbless practical rather than risky: a substrate engineered to remove the points where a curbless shower would otherwise leak.
The Insutile Curbless Shower Specification, in One Place
- Shower base — Insutile pre-sloped Shower Underlay (1:50 fall, drain position to suit)
- Walls — Insutile Build Board (typically 12.5 mm) on stud or masonry
- Curves — Insutile Flex Board where required
- Corners — Insutile Angle Board for internal corners and pipe boxing
- Sealing — Insutile sealants and mesh tape across every joint
- Fixings — Insutile washers and screws into the structural substrate
Everything ships from a single supplier, all CE-marked and BBA-certified, all backed by a ten-year warranty.
Planning a curbless shower or wet-room project? Explore the full Insutile XPS Tile Backer Board system at insutile.com, request a sample pack, or send your drawings to our technical team for a complete specification.