

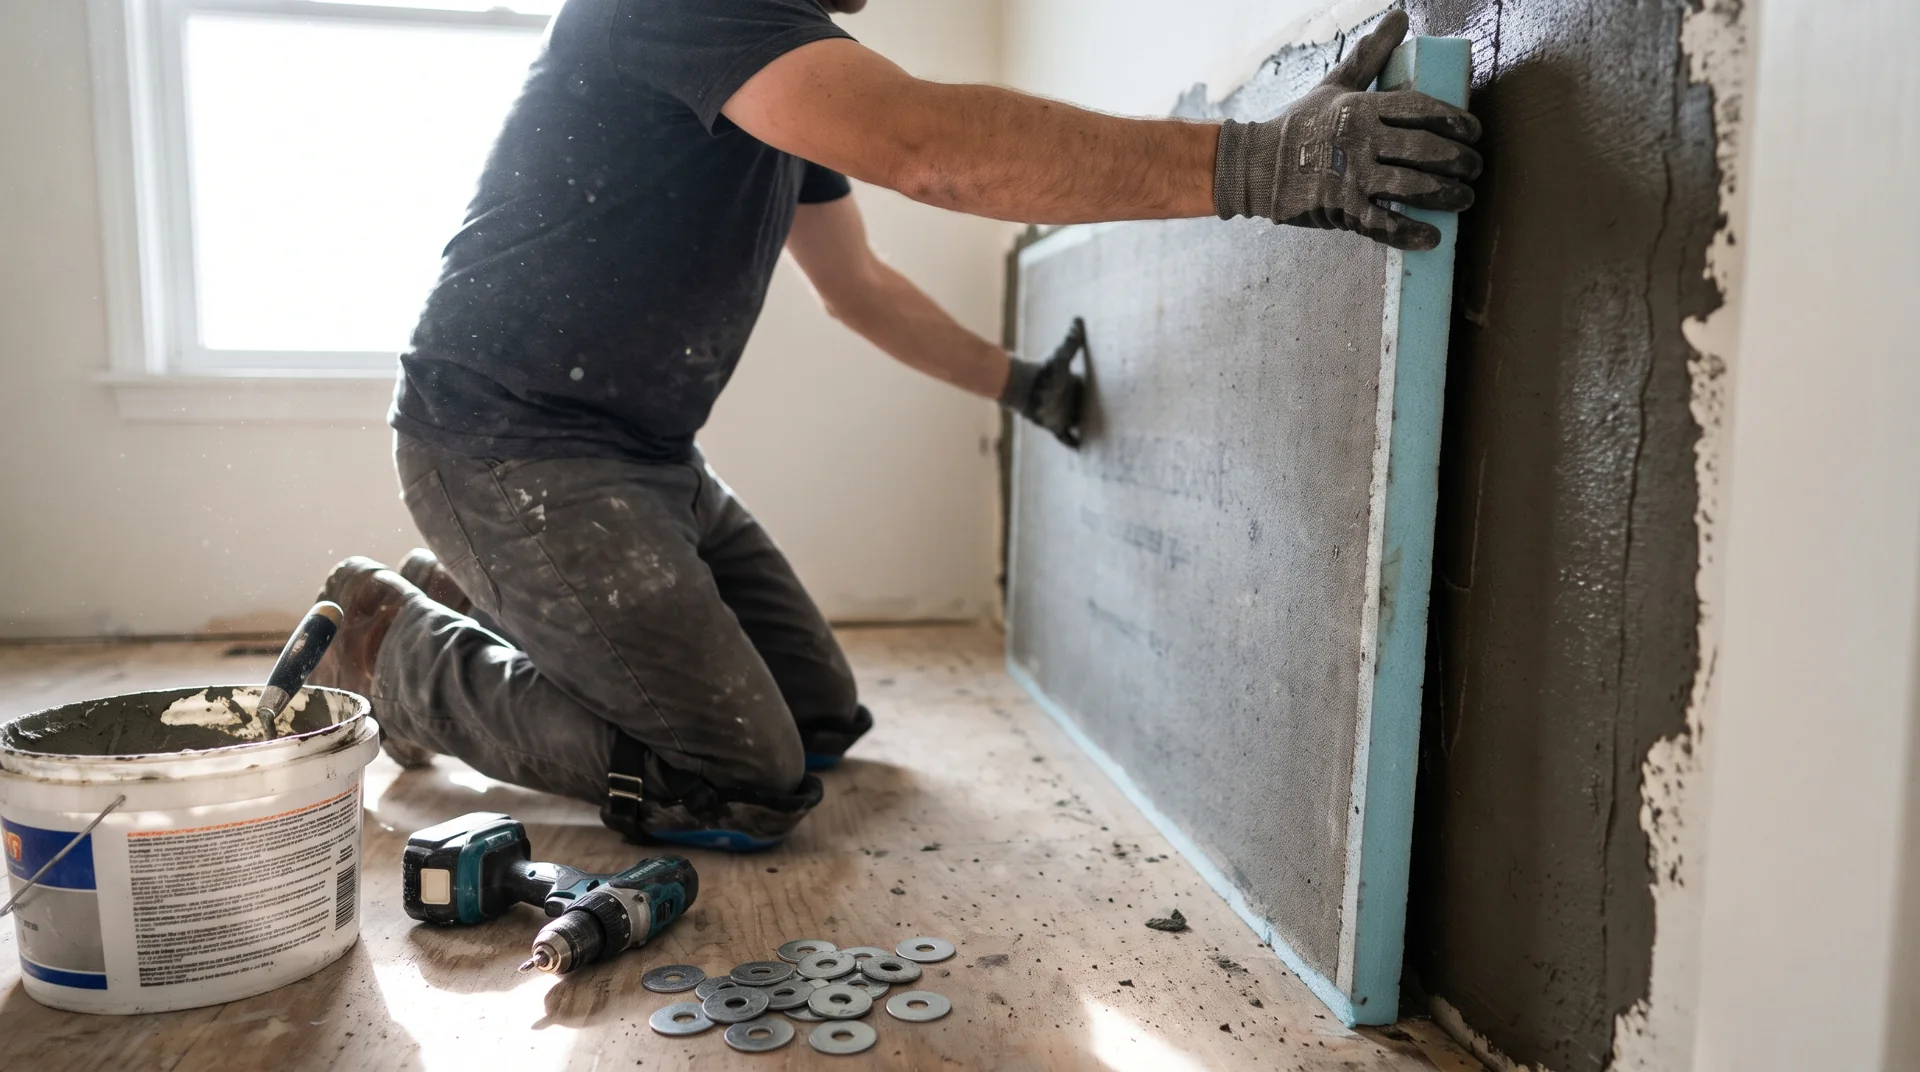
The short answer: Insutile® Build Board is cut with a utility knife, fixed with screws and fixing washers at 300 mm centres, taped at the joints, waterproofed in wet areas and then tiled directly with tile adhesive, without priming. The seven steps below follow the Build Board installation guide. The adhesive and the fixing method are chosen to suit the substrate or structure, so confirm them against the project specification.
The full guide, with diagrams, is a PDF on the tools page. The guides for Insutile® Flex Board, Angle Board, Shower Underlay, Easy Board and Trays and Niches are in the same place.
What do you need before you start?
- Boards in the thickness specified. The thickness guide covers the choice.
- Fixing washers and screws. The washers are supplied with every board. Screws are ordered separately or sourced by the contractor.
- Jointing and waterproofing materials: joint reinforcing tape, tile adhesive and, for wet areas, waterproofing membrane and waterproof corner seals. All are in the Insutile® accessories range, or can be sourced by the contractor.
- Tools: tape measure, 1200 mm spirit level, utility knife, straight edge of 1000 mm or more, drill driver, 10 mm notched trowel, gloves, goggles and a dust mask.
How is Insutile® Build Board installed, step by step?
- Prepare the substrate. It must be clean, dry, stable and level. Floors are flat to 3 mm over a 2 m span. Walls are plumb and secure. Fill depressions with levelling compound first.
- Cut and dry-fit. Measure and mark the board, score through the cement face with a utility knife and snap it on the line. Use a fine-tooth saw for shaped cuts around pipes and outlets. Boards with the Dual Coat · Patterned finish may need power tools.
- Fix the boards. Use screws and fixing washers at 300 mm centres across the board and 150 mm at edges and joints. Seat the washers flush with the board face and do not over-drive them. Stagger the board joints where possible.
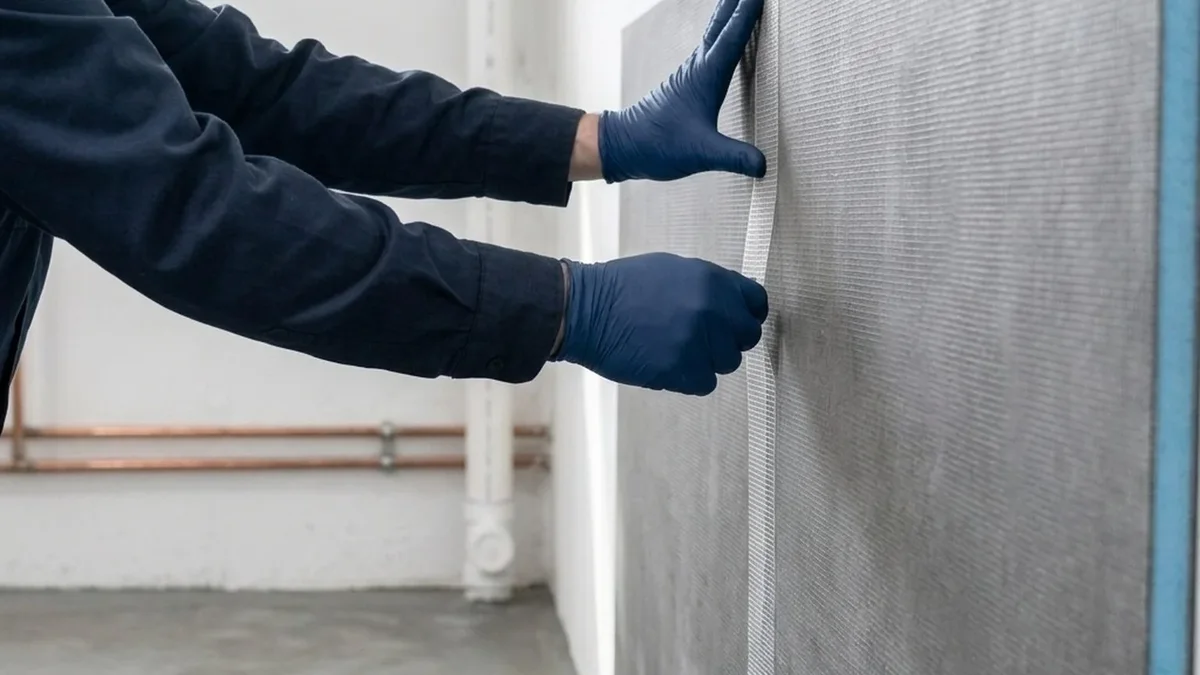
- Tape the joints. Bed alkali-resistant reinforcing tape into flexible adhesive over every joint and smooth it flat. Overlap lengths of tape by at least 50 mm. Let the joints dry before waterproofing.
- Waterproof the wet areas. In showers and wet rooms, a waterproofing membrane is applied in most cases: two coats over joints, corners and penetrations, with a corner seal in every internal corner. Dry areas do not need this step.
- Tile. Apply flexible tile adhesive directly to the board face with a notched trowel. No primer is needed. Back-butter large-format tiles and stone.
- Finish. Grout the joints. In wet areas use a waterproof grout, and silicone at corners, junctions and penetrations. Let everything cure fully before the area gets wet.
How are the boards fixed to different substrates?
The adhesive and the fixing method are chosen to suit the substrate or structure. The installation guide gives screws and fixing washers as the standard fix.
- Timber or metal studs: the board is screwed through washers into the studs. Studs are plumb and at 600 mm centres or less.
- Masonry or plastered walls: the board is bonded with adhesive and secured with washers. This is the usual route in a renovation.
- Irregular masonry and high-impact areas: a 10 mm notched bed of adhesive behind the board gives extra hold. It supplements the fixings and does not replace them.
- Timber floors: the method is set out in can you tile directly onto wooden floorboards?
The guide also accepts other standard methods for tile backer boards, provided they meet the substrate, waterproofing and load requirements. Follow the local building code and the instructions of the adhesive and membrane manufacturers.
How long before the area can get wet?
The guide gives an indicative timeline of about 72 hours. Adhesive, where it is used, cures in the first 24 hours. The membrane cures by 48 hours. Grout and silicone cure by 72 hours, after which the area is ready for water. Where a product manufacturer states a longer time, use that.
Where do installations usually go wrong?
The common errors at each step are collected in seven tile backer board installation mistakes. For a shower enclosure, tile backer board for showers shows which board goes on each surface. For a level-access floor, see how to build a curbless walk-in shower. The products for each room are on the bathroom and wet-room solutions page.
Frequently Asked Questions
Do Insutile® boards need priming before tiling?
No. Tile adhesive is applied directly to the cement face of the board with a notched trowel.
What spacing is used for the fixings?
Screws and fixing washers are set at 300 mm centres across the board and 150 mm at edges and joints, with the washers seated flush with the board face.
Are the fixing washers included?
Yes. Fixing washers are supplied with every board. Screws and the other accessories are ordered separately or sourced by the contractor.
Is a waterproofing membrane needed over the boards?
In showers, a waterproofing membrane is applied over the boards and joints in most cases, in two coats with corner seals at the internal corners. Dry areas do not need one. Some build-ups do not need a membrane, so confirm it against the specification.
Can the boards be cut without power tools?
Boards with the Regular Coat finish are scored with a utility knife and snapped. Shaped cuts are made with a fine-tooth saw. Boards with the Dual Coat · Patterned finish may need power tools.