

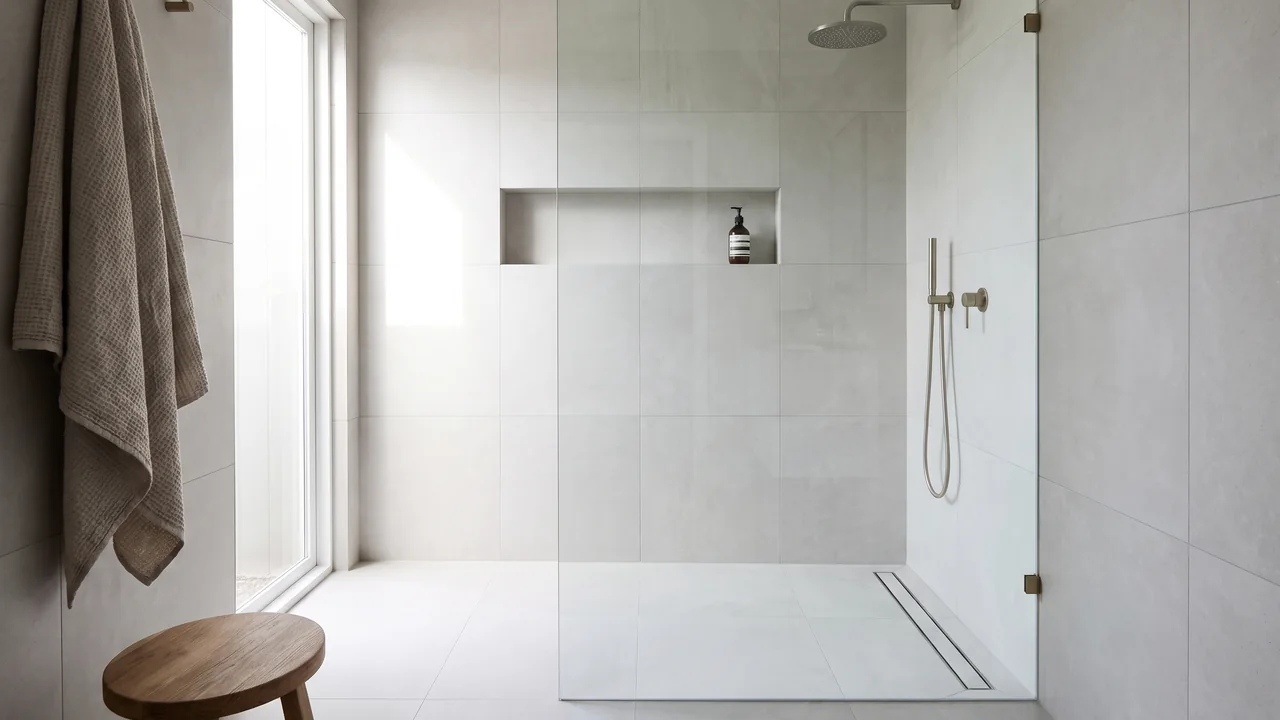
The short answer: use a waterproof XPS tile backer board on the shower walls, a pre-sloped XPS tray on the floor, and pre-formed XPS angles and niches for the corners and recesses. Together they give the shower a substrate that is waterproof through its thickness, so the tiles sit on a surface that cannot soften, swell or feed mould. The joints are sealed and, in most showers, a waterproofing membrane is applied over the boards before tiling.
That is the whole principle. The rest of this article goes through each surface of a shower enclosure, explains what the board has to do there, and shows which Insutile® product does it. If you are weighing XPS against cement board more generally, our XPS vs cement board comparison covers that in detail.
Why does a shower need a different board from the rest of the bathroom?
Most bathroom walls get splashed occasionally. Shower walls get wet every day, for ten or twenty minutes at a time, and the floor stands in water. Tiles and grout slow that water down but do not stop it; a small amount always reaches the substrate. A substrate that absorbs water will eventually fail, which is why the British tiling standard, BS 5385, restricts what can be tiled directly in wet areas and why plasterboard needs a separate tanking system before any tile goes near a shower.
A closed-cell XPS board changes the problem. Insutile® Build Board has a water absorption of 0.1 % or less (EN 12087), so water that reaches it stays on the surface and drains away. Nothing in the board can rot, and the cementitious faces take tile adhesive directly. The joints are still sealed, and in showers a waterproofing membrane is applied over the boards and joints in most cases. The difference is that the board behind the membrane is not damaged if water gets past it.
What should the shower walls be built with?
The walls are the largest area and the simplest decision: Insutile® Build Board. It is an extruded polystyrene core faced on both sides with mesh-reinforced cementitious mortar, supplied in 600 × 1200 mm and 600 × 2400 mm panels.
- On timber or metal studs: 12.5 mm board, screwed through fixing washers at 300 mm centres. The board spans the studs without flexing, which is what keeps grout joints from cracking.
- Over an existing masonry or plastered wall: 6 or 10 mm board, bonded with adhesive and secured with washers. This is the normal route in a renovation, and it avoids stripping the wall back to brick.
- Where the wall is also an external wall or faces a cold space: 20 to 50 mm board adds insulation at the same time, because the core has a thermal conductivity of 0.034 W/mK.
Our thickness guide sets out the full range, and the plasterboard-in-showers article explains why plasterboard in the wet zone should be stripped and replaced with a waterproof board.
What goes on the shower floor?
The floor has to do two things the walls do not: carry foot traffic and fall to a drain. Forming that fall on site with a sand-and-cement screed is slow, needs drying time, and depends on the skill of whoever lays it. A factory-made tray removes all three issues.
Insutile® Shower Underlay is an XPS tray with the slope already formed in it, finished with the same cementitious face as the boards so it is tiled like the rest of the room. It is made for point drains at the centre or offset towards an edge, and for line drains along an edge or across the tray. Standard trays are square from 900 × 900 mm to 1500 × 1500 mm and rectangular up to 1000 × 1800 mm; other sizes, slopes and drain positions are made to order. Because the tray is a flat, rigid panel, it also suits level-access showers, which we cover in how to build a curbless walk-in shower.
How are the corners and junctions kept watertight?
Most shower leaks start at a junction: where wall meets wall, wall meets tray, or a pipe comes through. These are the places where a site-cut joint has to be sealed by hand, so the fewer of them there are, the better.
Insutile® Angle Board is a factory-folded 90° section of the same board. The outer face is continuous through the fold, so an internal or external corner becomes one piece instead of two cut edges meeting at a seam. It is also the product used for boxing in pipes and valves inside the enclosure, which is shown step by step in how to box in pipes for tiling.
Where a junction still has to be made on site, the Insutile® accessories cover it: waterproof sealing tape over board joints, pre-formed fleece corner seals at the wall-to-tray junction, and sealant around fixings and penetrations.
What about the niche, the bench and the shelf?
A recessed niche cut into a stud wall is a box with five internal corners, every one of them a potential leak. Insutile® Trays and Niches are made as one piece from 12.5 mm board, so the geometry is fixed at the factory and the niche drops into the opening, fixes through its flange and is tiled with the rest of the wall. Standard niches run from 400 × 200 mm to 1200 × 400 mm; corner shelves and benches are made the same way. The full method is in how to build a tiled shower niche.
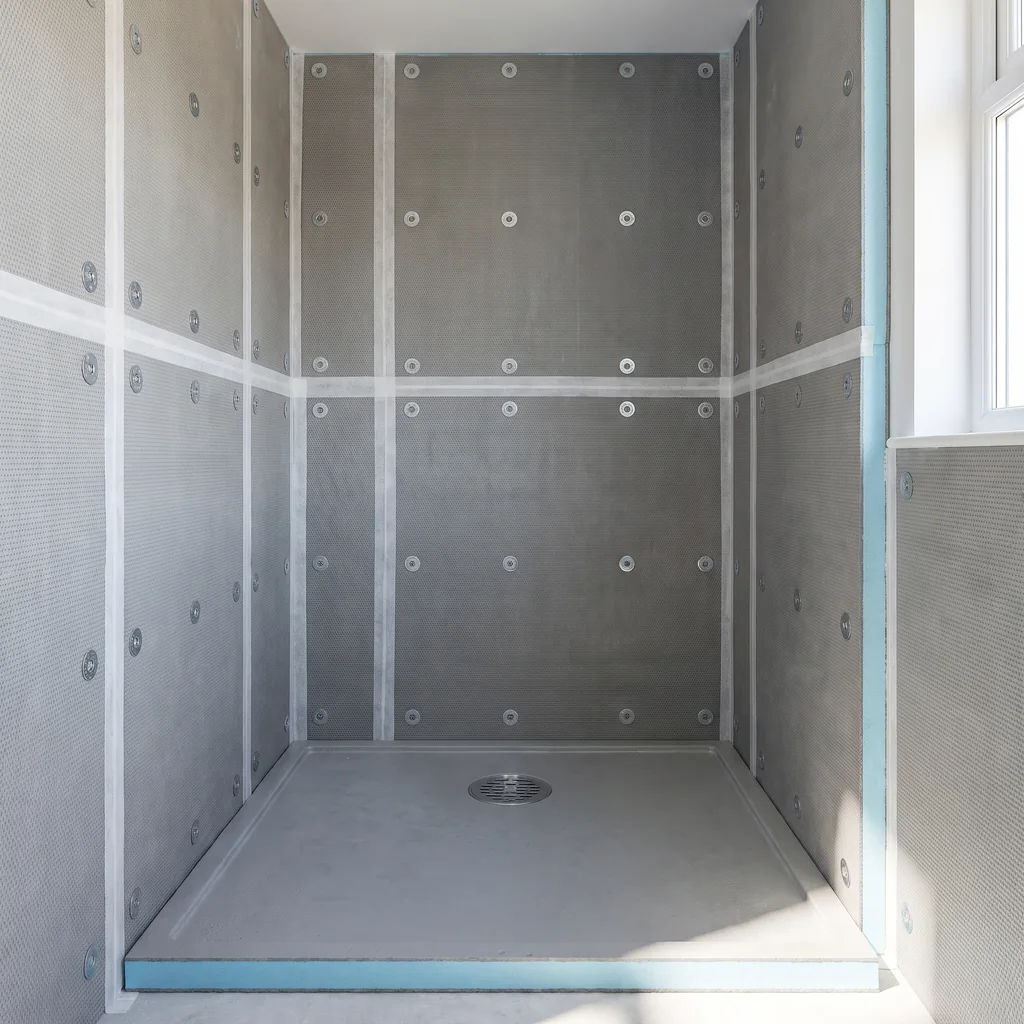
In what order is a shower boarded?
- Prepare the substrate. Studs plumb and at 600 mm centres or less; existing walls sound and dust-free.
- Fix the wall boards. Screw through washers at 300 mm centres on studs, or bond and secure on solid walls. Stagger the joints.
- Place the tray. Bed the Shower Underlay in adhesive on a flat, level base, with the drain connected before the tray is fixed down.
- Form the corners. Angle Board at internal and external corners and around boxing; niches and shelves fixed through their flanges.
- Seal every junction. Mesh tape and adhesive on flat joints; waterproof tape and corner seals at corners and the wall-to-tray junction; sealant at fixings and penetrations.
- Waterproof. In most showers, apply the waterproofing membrane in two coats over the boards, joints and corners.
- Tile. Standard C2 tile adhesive directly onto the waterproofed surface, or onto the board face where no membrane is used. No priming and no skim coat.
The most common errors at each of these steps, and how to avoid them, are collected in seven tile backer board installation mistakes.
Which Insutile® products go where?
| Surface | Product | Typical specification |
|---|---|---|
| Shower walls | Build Board | 12.5 mm on studs · 6–10 mm over solid walls · 20–50 mm where insulation is needed |
| Shower floor | Shower Underlay | Pre-sloped tray, point or line drain, 900 × 900 to 1500 × 1500 mm square, rectangular up to 1000 × 1800 mm |
| Corners and pipe boxing | Angle Board | Factory-folded 90°, 20 mm, wings 150 to 400 mm |
| Niche, shelf, bench | Trays and Niches | One-piece, 12.5 mm board, 400 × 200 to 1200 × 400 mm |
| Joints and junctions | Accessories | Fixing washers, sealing tape, corner seals, sealant, tile adhesive |
The same combination, applied room by room, is set out on the bathroom and wet-room solutions page, and for repeated hotel bathrooms on the hotel and commercial solutions page.
Frequently Asked Questions
Do I still need a waterproofing membrane with XPS tile backer board?
In most showers, yes. The board body is waterproof, but a waterproofing membrane is applied over the boards and joints in most shower build-ups, together with mesh tape on the joints, waterproof sealing tape or corner seals at the corners, and sealant around fixings and pipe penetrations. Some build-ups do not need a membrane, so confirm it against the specification.
What thickness of tile backer board should I use in a shower?
On a stud wall, 12.5 mm is the usual choice because it gives the board enough stiffness between studs. Over an existing solid wall, 6 or 10 mm is enough. Insutile® Build Board is produced from 4 to 80 mm, so thicker boards are used where you also need insulation or where the wall has to be built out.
Can I use plasterboard behind shower tiles instead?
Standard plasterboard is not suitable in a shower, and moisture-resistant plasterboard is not recommended in the wet zone. Outside it, plasterboard must be fully tanked to BS 5385 before tiling. An XPS tile backer board has a closed-cell core, so it does not take up water if the waterproofing is breached.
How do I form the shower floor?
Use a factory-sloped tray rather than a site screed. Insutile® Shower Underlay is made with the fall built in, for point drains at the centre or offset and for line drains along an edge. Square trays run from 900 × 900 mm to 1500 × 1500 mm and rectangular trays up to 1000 × 1800 mm, with custom sizes to order.